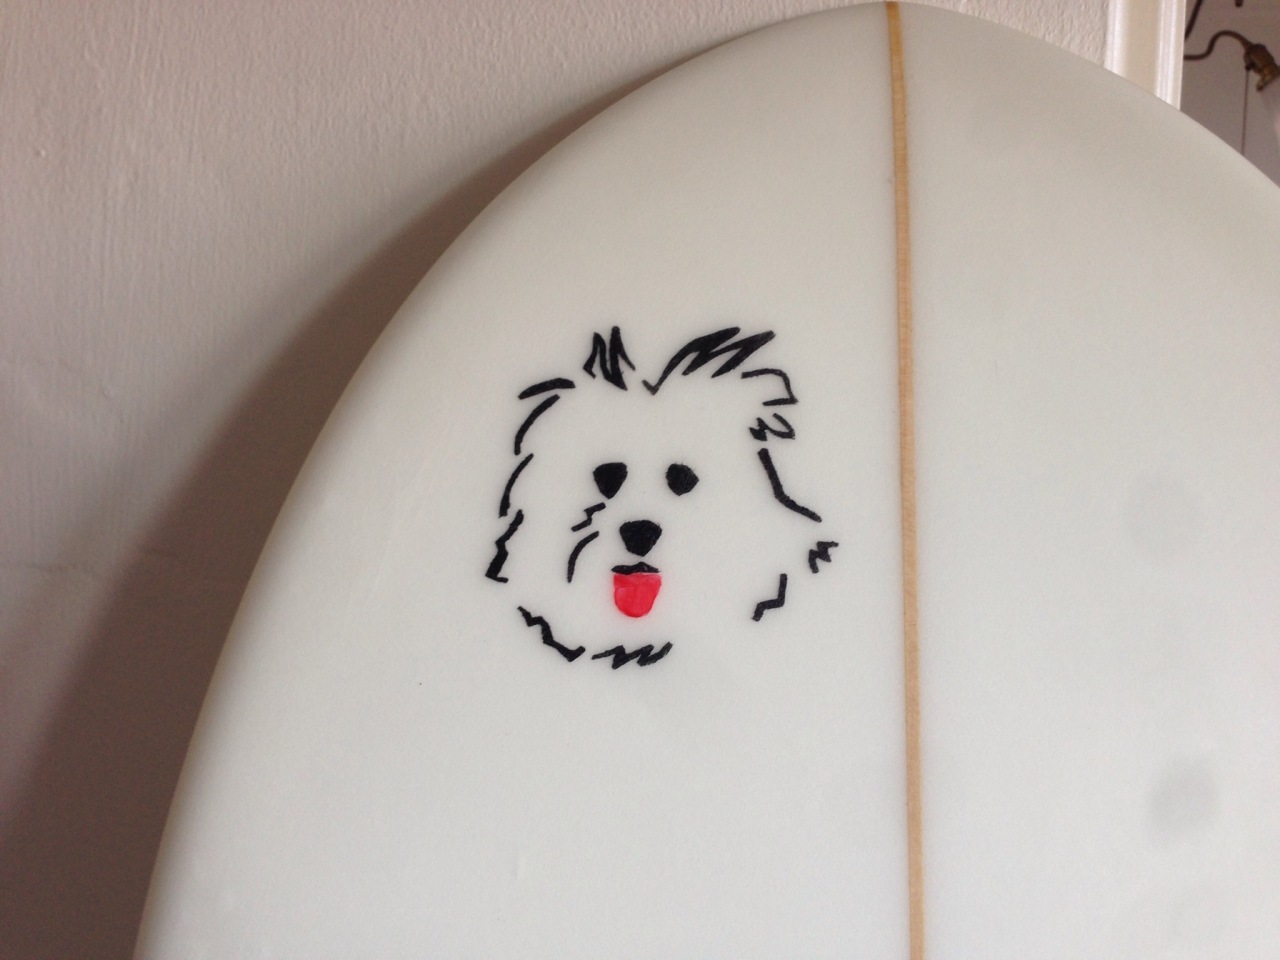
Olive is my dog, and she’s coming out with me whenever the waves are small and fast. I guess I have a bit of time on my hands, and making stencils is a favorite way of mine to fill up that time. I don’t yet have the guts to put one of my stencils in a public area where I might get busted for vandalism, so I tend to stick with placing them on my surfboards. Olive is on my Sperm Whale from Channel Islands, and she might see some action at Ocean Beach mañana given the current forecast.
Channel Islands
Picked Up A Whale
Got myself a Sperm Whale. It’s a fun looking board designed by Dane Reynolds, shaped by Channel Islands. I rode my bike down to the beach on Saturday and picked it up from Wise. Had a nice conversation about funky shaped boards with the guy who works there, but the wind that day stopped me from trying the board out.
Dane Reynolds on the Sperm Whale showing how it’s done.
Fluffy Wooden Biscuit
Chris showed us step one and two of building the wooden version of the Channel Islands ‘Biscuit’, which we guess makes step three showing off your super light, super clean, un-glassed board of sweetness.
Step four would be to make your board into a fiberglassed thing of sweetness, but glassing a surfboard is definitely not the easiest step in the process. However, once the board’s glassed and has some fins it’s then considered ocean wave ready sweetness.
 Wooden surfboards are surprisingly light(er) than you think because they take the same engineering shape as tissue paper model airplanes that have a skeleton wing structure. Chris is pretty in shape though, so he could probably hold that board with one hand for more than the 3 seconds it took to take that above photo.
The Wooden Version Of Channel Islands “Biscuit”
I’m currently working on the wooden version of the Al Merrick and Rob Machado Channel Islands Biscuit. Having been completely satisfied with my first wooden surfboard, I went with another kit created by Grain Surfboards from York, Maine.
As a guide to others, I thought it would be helpful to post photos of the board while it’s still under construction. This is the second wood surfboard I’ve worked on, and I had many questions a long the way so hopefully these photos will help other shapers with their boards.
The first steps are easy to understand using the Grain builder’s manual. The first step is to set up the outer shape of your board (see above) by glueing the keel and ribs to the bottom plank. You’ll need (several) spring clamps, straps and a jigsaw. Nothing too hard yet…
The second task is forming the rails of the board. You’re going to need wood glue, a spokeshave, and as many clamps as you can get (I feel the more clamps you have the better). The rails are 1/4″ milled ceder and will follow the shape of your ribs. You’ll need to trim and steam the rails in order for them to take the shape.
Use a spokeshave to trim the strips. A spokeshave is a fairly easy tool to for someone not too “handy” to use. As long as you take your time fitting the strips this step will not be too hard. It helps me (a person just starting to make surfboards) begin to understand the reasons boards are shaped the way they are.
Keep in mind that I’m just highlighting some of the major steps in the building process, skipping many little steps as I go, so if you wanted to know more then just feel free to ask. And again, this is a Grain kit I’m following, they are the real pros.
More to come as I find the time to build…


